![]()
Route Notes
Start -
 Caldons
to Lamarchan.
All photos in Caldons to Curleywee and
Photos 1-9 and updated 16th March 2025 -
Start to Lamachan
Caldons
to Lamarchan.
All photos in Caldons to Curleywee and
Photos 1-9 and updated 16th March 2025 -
Start to Lamachan
Go through the house garden, and follow round to right. Then you are alongside the deer fence with the river on your right. You will come to a track/bridge. Cross the bridge to your right and immediately turn left with the river on your left. I have marked it from the bridge to the end of the fallen trees but the markers might be eaten/blown away so take care too. There is a narrow but good goat / walkers path that follows the river. Sometimes near the edge of a gully and sometimes it cuts a "bend" and leaves the bank. Try to follow the path as it's easier going. It leads up the side of the deforested area and comes to a stream junction. Drop down to the stream and cross it (Photo 1 in "Start to Lamachan). Follow tapes and path again.
At around 250m the forestry have created a new huge track (not on any map) that you clamber out onto and follow. Then follow the manmade "footpath" until you see a wall in front of you. Leave the small track. Cross the small stream and go alongside the wall. Head up the valley, under, over and through the fallen down trees. We have cut back and taped this until the end of the trees. It's not taped after that.
Follow the river, crossing it back and forth. But follow the wall which leads you to the summit. The summit is a shelter cairn. Not marshalled. The tracker will pick up your summit tim
CP1 to CP2 - Lamarchan to Curleywee Curleywee Cairn
Quite straightforward with good paths. A few bumps you can go round and after the lochan contour left. Then cross the wall and a good path takes you to the summit. No photos as in clag
CP2 to CP3 - Curleywee to Millfore. Photos 10-31 . No 22 & 24 is looking back at Curelywee descent
The descent to the valley is better on the right heading to the wall and following that down. Head off the summit initially to the pond and then bear south, weaving down grassy banks to the wall. On route there is a fenced enclosure and from there a path appears which leads to the wall. There is a path down the wall to the Loup of Laggan where MRT will have a tent. Check in with them.
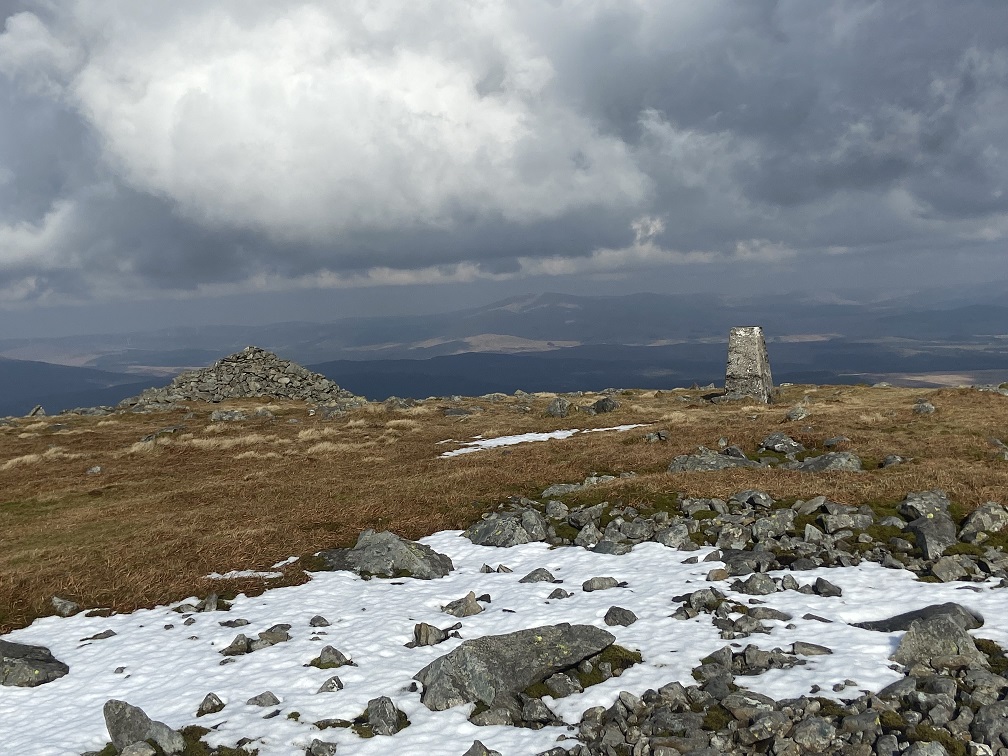
From there to Millfore there is an intermittant ATV track but it's best on a bearing until the track becomes very defined and leads to a tarn (Black Loch). Follow the track but then leave it as you start to climb, where it bends right, and you head left, initially on a path, then either a long contour or head to the ridge to go to Millfore Summit. A Trig.
CP3 to CP4 - Millfore to Cairngarroch Photos 32-41
There is 1km of open wide expanse that's just a compass bearing. At some point you glimpse the loch located under the word Cairnbaber on the OS map. Head to that. Once you get there you can see Cairngarroch. If you hit the fence where there is a stile there is then a path all the way up to the summit. The summit is a big cairn and the end of the rocks. Just keep going up.
CP4 to CP 5 - Cairngarroch cairn to Track CP Photos 42-48 and Cairngarroch and Darrou
Head off due north and pass the lochan / boggy area and gently down and across. It's ok going with grass and small tussocks. If you can see you are aiming for the bends in the river in the distance. You arrive at the felled forest and a cairn. I would avoid the felled area as its been pretty trashed. There was a few deer trods alongside and then down. There are grassy areas and paths that lead from to another. If it doubt head to the forest as the sheep graze there and it's ok going. When you get within 100m of the track you can either go in the forest or down the side, which has been planted up but it's ok. And you get to the forest track without much difficulty.
CP 5 to CP6 - Track CP to Darrou cairn Photos 49 to 53 and Cairngarroch and Darrou
We have been advised that we cannot go into the quarry therefore this will be Out of Bounds and the route will be to continue along the Forest road until you get to a line of standing trees with a small track leading into them. Head up the track which dissapears into the trees. Head directly up through the trees. When you reach the top you can a) follow the track to your left and then ascend by the stream or B) which is better climb directly onto the ridge above you. It's ok going through bracken and grass to the rocky spear where it is heather and grass. The summit has three big rocks and some smaller ones on it. But there is also a tiny green cairn higher up. Either will be counted if in the dark.
CP6 to CP7 - Darrou cairn to Meikle Millyea Trig Photos 54 to 65
On the map it looks like you could contour Little Millyea but I don't think it's worth it. There used to be a path up this hill marked with little flags but that seems to have gone. The terrain isn't bad as its winter so I plodded up it and then off the other side. You can see a wall in the valley and the old flagged path went to the wall and up it so there is a path on and off. The terrain near the wall is best and worth dropping a bit of ascent to get to the wall earlier. The wall levels off at the first top and a path leads to a cairn on the left. This isn't the summit. Just keep following the wall and there is a big cairn and a Trig.
CP7 to CP8 - Meikle Millyea Trig to Corserine Trig Photos 66 to 68
From the summit onwards it's all runnable, big wide ATV tracks or paths along the ridgeline. The rough stuff is over. So there's not many route notes. I don't think it's worth trying to contour the summits you don't need to go up of Milldown and Millfire. It's a long drag up Corserine!!
CP8 to CP 9- Corserine trig to Meaul Trig Photos 68 to 77
Following the atv tracks and the ridge is easiest. Meaul is over to the right and so make sure you take the right hand path or watch out you don't miss it.
CP9 - CP10 - Meaul trig to Corran of Portmark cairn Photos 78 to 82
I followed the fence and went up and over Bow. Cairn on the right of the fence.
CP10 to CP11 - Corran of Portmark cairn to Track CP Photos 83 to 102
Steve suggested people might try and go direct to the track which on paper looks like it makes sense. But in reality I'm not sure it would work. I've tried to take photos from above and when I was running on the track below to show you what the "forest" now looks like. Some of it still exists but the rest has been cut down and replanted. The route round follows an ATV track off the summit to near the wall and then heads down to the wall where it crosses the stream. There you take a left and follow the wall again on an ATV track to the main track. I took one photo looking back at the carparks for CP11. CP11 will be in the higher one, so cross the bridge and head up the hill.
CP11 to CP12 - Track CP to Track CP Photos 103 to 107
Not a lot to say - it's a track and goes on a bit! That's why we are putting a CP at the end of it so you can get more food/drinks. The CP will be at the Track junction - about 1km nearer than in 2024. One thing I love about this race route is that you can see where you have been and where you are going. As you go along the side of Loch Riecawr you can see the whole ridge of the Range of the Awful Hand leading to Merrick. It looks a long way but it's about 5 hours.
CP12 to CP13 - Track CP3 to Shiel Hill trig
To enable direst lines to be taken onto Shiel Hill trig we have moved CP12 however even Glyn Jones says "It's too rough"!
Other than that continue along the track to Balloch Lodge and follow the track to the left up to a clearing. I have cut back and flagged with red/white tape to the start of the open hills up the stream valley. Basically follow the tapes over the stream and between two tapes onto a grassy hillside. Then turn left and follow the tree line into some smaller trees which are cut back. You're heading back towards the big stream. When you get to the boggy marshy area head alongside the stream into some more trees. There is an old balloon tied on the way through these trees. Then left again back towards the stream and alongside the stream with a steep bank on your right. This gets very narrow and you have to scramble up heather/grass to your right and the bottom of the tree line. Keep looking right and you will see where I have cut a way through the trees. Go through there and straight up, parallel with the stream. You then cross the stream in a boggy area to the low side of the forest and follow that to open ground when you head up heather/grass. The Trig can be accessed directly or the path goes round the back of it.
CP13 to CP14 Shiel Hill to Craigmansheenie - marker on flat stones
There is a good path off Shiel Hill which drops you to the base of the forest. Here do not follow the deer trods going left/right but head up the rougher ground in front of you. The top is a good way off and you can contour / climb round the first hill on the right to arrive in a grassy gully which you drop into and then walk up to your left. There are a few grassy steep inclines through the slab of rock which lead to to the top which is a flat piece of stone. No cairn.
CP14 to CP15 Craigmansheenie to Shallock on the Minnock. Trig
There is a path leading off the summit but its pretty easy to lose so keep your eye on a bearing etc. You drop to the left of the lochan and pick up some quad bike tracks. There is a good stream here for water. Follow the quad bike tracks but then strike off directly up the hillside. It's steep and there are shorter grassy bits. When you get onto the short grass and flatter climb you can contour round to your right as the Trig is off on a plateau.
CP15 to CP16 - Shallock on the Minnock trig to Tarfessock. cairn
Head along the path off the summit to the shallow col and then fork right on the path. I wouldn't advise going directly from the summit down to the col as the ground there is rough and boundery. There is a path on the left hand ridge which leads down and then up the ridge to Tarfessock which has two summits and it's the second one with the big cairn on it that will record on Opentracking.
CP16 to CP17 - Tarfessock cairn to Kirriereoch. Cairn on the wall
Initially head down the spur rather than direct to the lochans as there is a path and it will lead you through the lochans to the fence. Here there is a wide path which splits at the base of Kirriereoch. Generally the left handside is drier and there are two routes - either right on the far left ridge which is a path through the rocks. Or and better if there is snow, head directly up and when you get to rocks/snow then head left to more grass. The climb is steep and then levels off. You get to a wall with a cairn on it which isn't the summit. The summit is a smaller cairn further on.
CP17 to CP18 - Kirriereoch wall cairn to Merrick. Trig
The descent is grassy and easy to go wrong so get a bearing on it. Get down to the col and I would ignore the path that heads off right as it doesn't climb and you end up leaving it anyway. Head up the stony / grassy spur on pretty good ground getting steep and then flattening off on Little Spear. Most of the climb is done now and you're on a good path to the summit of Merrick. A big summit cairn with a trig.
CP18 to CP19 - Merrick trig to Gate in Wall.
Be very careful off Merrick. It's a big plateau and the tourist path is not clear and heads right initially. It's short grass and the path is easily covered in snow/grass. Further down at about 800m it becomes more obvious and heads down to a wall. The best ground is to cross the wall and then recross it further down to climb up to Benyellary. You don't need the summit so follow the wall. Be careful about staying near the wall as it's extremely easy to get dragged too far down and left on the Tourist path. Stay by the wall and you pick up a quad track thats leads you across and to the gate. There is only one gate in this wall so find it!
CP19 to CP20 - Gate in wall to Bruce's Stone.
Route 1 - head back to the tourist track and follow that to the Bruce's Stone carpark. It's pretty awful and it will be interesting to see which teams prefers this route to Option 2.
Route 2 - Go through the gate and across on a big path to a deer fence and big step stile. Over the stile and onto the track which leads up to the mast. When you are opposite the loch look for flags and a path to your left between two knolls. Follow this path / flags all the way to down to the carpark basically. It's quite clear and well marked. If you lose it I think it's worth retracing your steps to find it again. Describing it is hard as it wavers about, goes round bogs, heads steeply down to a deer fence which you cross on the stile, then down again to the forest road which you cross. Then right and along the top of a ridge to a big cairn. Then it drops through tussocks, down and down steeply towards the main valley before turning right in the bracken and dropping steeply to the car park. Once in the top Bruce's Stone car park head straight across the road onto man made paths to get to Bruce's Stone.
CP20 to Finish - Bruce's Stone to Finish.
There is a little path on the right of the Stone down some slabby rock which leads to the bottom carpark. Then follow the road until either Route 1) the footpath. You can't miss the footpath sign. It says "Southern Upland Way and some other path signage. It's a well made path and a bit wavy but doesn't have much ascent on it. You will come alongside the loch into a carpark. Or Route 2) follow the road. Both routes come to the public carpark before the bridge. Go over the bridge, left at the fork, over another bridge and into Caldons. The Finish is on the track to your right.
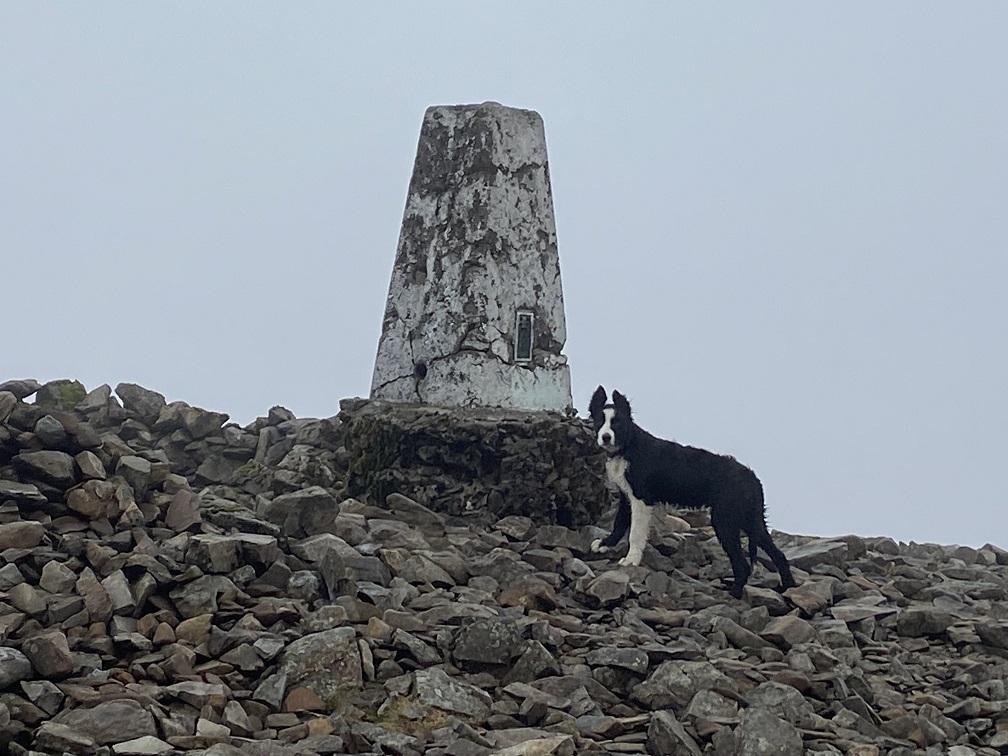
Merrick Trig with Bruce